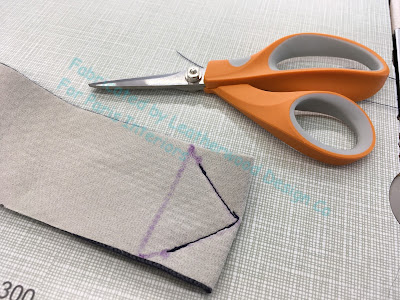
For these pillows, precision was key. The Samuel and Sons 2" woven braid had to be turned into a 1/2" mitered flange.
When I made a trial flange, I immediately discovered that the soft braid would not hold its shape.
This was not the precise, tailored look I needed to achieve.
I made another experiment using fusible fabric stabilizer from Rowley Co. When I trimmed and turned the corner, there was the look I was going for! The stabilizer gave me control over the shifty tape.
So I got out my rotary cutters and cleared my mother-of-all-cutting-mats tabletop. I needed a sharp blade for the stabilizer, so I put a fresh one in my cutter.
I cut the strips just shy of the trim width.
I learned the hard was that the tape should be ironed on OVER the stabilizer, not the other way around. A few miles of ironing later.....
Nothing for it but to plunge in and get started. Once you get the hang of it, this is actually fun.

Maybe the Miter Queens can do the rest of this job with math, but I can't! I pinned the flange to the table to mark the exact spot for executing the next corner- another use for my can't-live-without gridded table canvas from The Workroom Channel.
The pressed fold helped make it easier to be precise.
I completed the corners one at a time, going back and forth from table to machine (it's only 3 feet away, LOL) for each step.
When they were done I laid the trim out to cut and pin the join, in the center at the bottom.
The last step before applying to the pillow face was to stay-stitch the entire perimeter just inside the final stitching line, to keep the layers from shifting.
The completed trim was sewn to the pillow face as if it were a lip cord.
I just barely tapered the corners, to help avoid pointy pillow ears.
The pillow was finished the ususal way- right sides together and a color-matched zipper. The rule for color-matching with a contrast zipper: match the trim, not the fabric. This holds true 99% of the time in my experience. Now they're ready for their new owner!


omg! Think you mastered it! Beautiful work. Wish you'd put your years of knowledge into book form, as I've yet to find a really good one.
ReplyDelete